
Would it be handy to have two SIM cards (i.e. two different phone numbers) in your iPhone? Read on to find out:
- how it works – why have 2 SIMs
- how to set up the use of 2 SIM cards
Why have 2 SIMs in your iPhone?
You can run 2 numbers on a single handset. Actively, that is – you both make and receive calls; it isn't just call forwarding. And that's very practical. Especially if:
- you have a personal number and a work number and want just one handset
- you travel a lot and want to set up separate data plans for home and abroad
- you want to use one card for calls and the other for data
The simple solution – an iPhone with Dual SIM
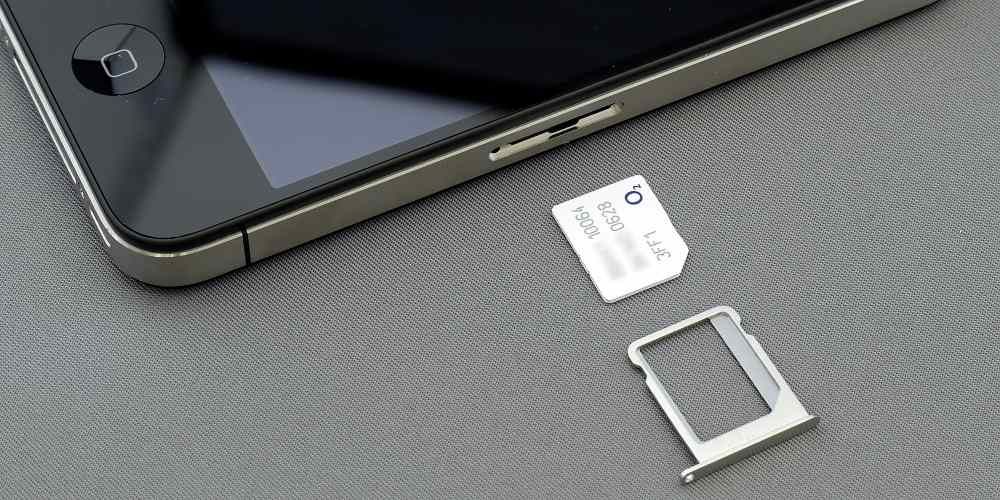
If you own an iPhone XR, XS or later, having 2 phone numbers on your mobile is no problem at all. The SIM tray still has room for only a single nano-SIM card, but the second card is an eSIM.
What you need:
- an iPhone XR, XS or later
- iOS 12.1 or later
- support for the service from your network provider. In the Czech Republic, that's T-Mobile and Vodafone so far.
The complete, up-to-date list of countries and network providers that support eSIM can be found on the Apple.cz website.
The simplest option is to have both numbers with one network provider. If your plans are with different providers, your phone must be unlocked.
On a company plan? Check with your employer first that your plan allows this service.
An eSIM is stored digitally in the iPhone, but you can happily use it as your main SIM too, so there's no need to own a physical nano-SIM at all.
How to get Dual SIM working on an iPhone
Contact your network provider. Once they've made the service available to you, you have to set it up on your phone. Your provider will most likely make this easier for you by sending a QR code or by letting you set it up through their app. Either method will be quicker than setting it up manually.
- QR code: Open the Camera app and point your iPhone's lens at the QR code. When the "Mobile Plan Detected" notification appears, tap it. Then choose Continue at the bottom of the screen. After that, all you need to do is choose Add Mobile Plan. If you're asked to enter a confirmation code to activate the eSIM, enter the number your network provider gave you.
- Network provider's app: Go to the App Store and download your network provider's app. Then find a mobile plan in it that suits you and purchase it.
- Installing an assigned mobile plan: If you have iOS 13, some network providers can assign a mobile plan for you to install. In that case, when the notification Network Provider Mobile Plan Ready to Be Installed appears, tap it. Then just choose Continue at the bottom of the screen. If you place a QR code in the camera's viewfinder, the phone will read it. But if your camera is damaged, say, you can choose Enter Details Manually. The result is the same; it just takes a little more time.
- Manual entry: tap "Enter Details Manually" at the bottom of the screen and then follow the steps as the phone's interface guides you.
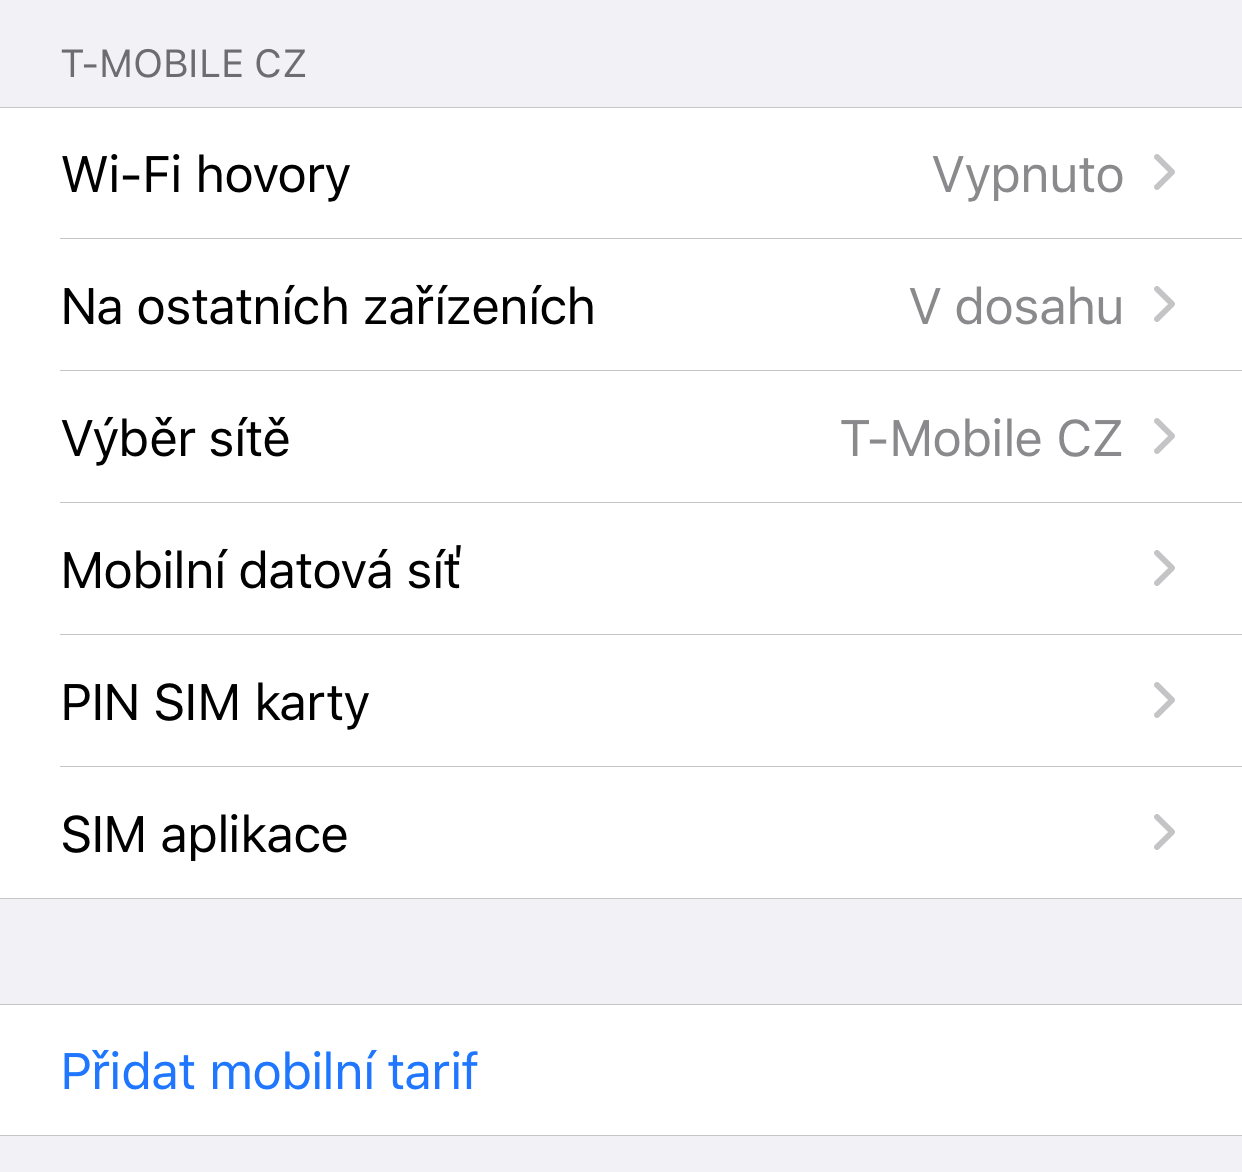
You can store more than one eSIM in your iPhone, but you can use only one at a time. To switch eSIMs, tap Settings, choose Mobile Data and then tap the plan you want to use. Finally, choose Turn On This Line.
You can see the whole setup demonstrated in this Apple video:
How to set up the use of 2 SIMs
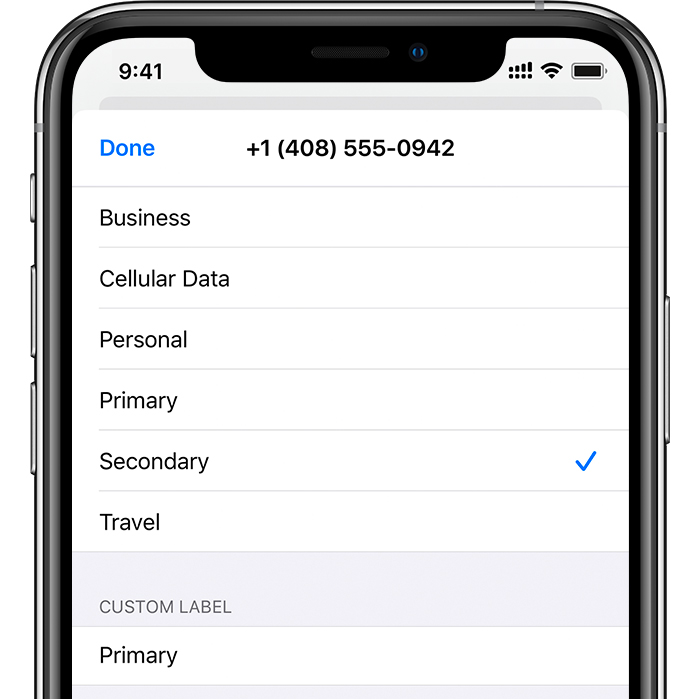
Labelling your plans
You now have 2 plans and 2 numbers, so it's a good idea to label them so that you can tell them apart. You can set one as personal and one as work, for example.
Setting your default number
- for each contact, you can assign the number you'll call from.
- you choose one number as the default. It will be used if you haven't specified a number for a contact or the person isn't in your contacts list
- also assign mobile data to one of the plans
You set all of this up in Settings - Mobile Data. And you can change it at any time.
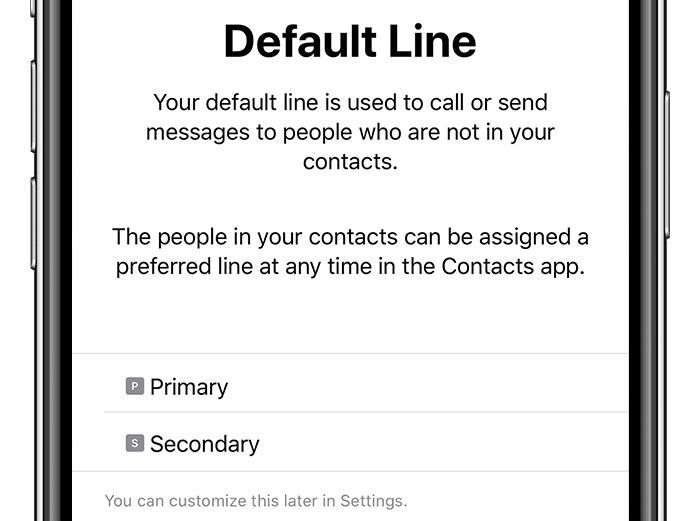
In iOS 13 you can choose which mobile plan you want to use for iMessage and FaceTime. You can choose just one, but you're equally free to use both numbers at once. The primary number will be shown with the symbol P, the secondary one with S.
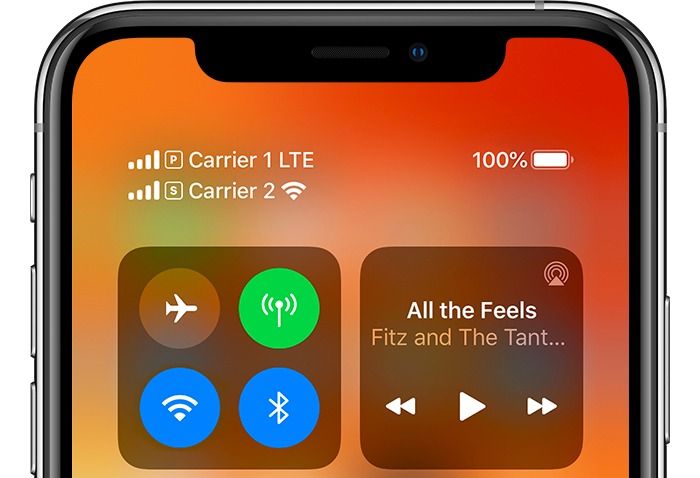
In the status bar in Control Centre you can see which network provider is using which network. In this case the primary one is using LTE and the secondary one Wi-Fi Calling.
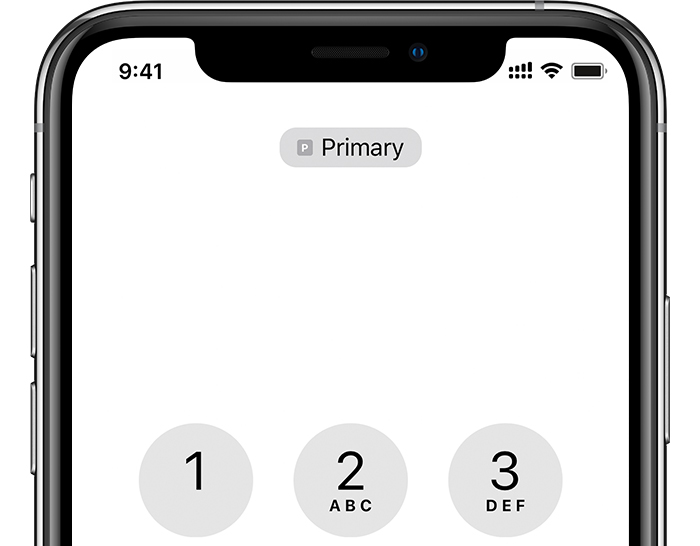
Before you call someone, you can change the phone number you want to call from. Just tap the ‘i’ symbol, select your current number and swap it for the other one. That's how you do it from your contacts list. If you're calling from the keypad, enter the phone number you're calling, tap your phone number or its label near the top of the screen and swap it for the other one. It works in a very similar way for iMessage, SMS and MMS messages.
Above the keypad, just tap your number's label and pick the other one. It's similar for messages.
If you need to transfer your eSIM to another iPhone, you do it in exactly the same way as when you added it to your current phone – that is, by scanning a QR code, through the app, or by installing it. If you need to erase an eSIM from the phone, go to Settings -> Mobile Data and choose the plan you want to remove. There you'll find the Remove Mobile Plan option.
Didn't manage to set up Dual SIM? Come and see us! We specialise in Apple products.
✆ 607 855 558
✉ info@appleguru.cz
Seifertova 683/83, Prague 3 – Žižkov